- Why You’ll Love Individual No-Bake Cheesecake Jars
- Ingredient Overview:
- How to Make this Cheesecake Jars Recipe Step-by-Step
- Filling Flavors
- Expert Success Tips
- Serving Suggestions
- Common Questions
- Go Make Your Summer a Little Cooler
Let me paint a scene for you. It’s ninety degrees. Your kitchen feels like a sauna. You want dessert (obviously) but the thought of turning on your oven? No way. Okay, here’s the magic: No-Bake Dessert Jars (Perfect for Summer!). They’re cool, creamy, ridiculously easy, and honestly, just plain cute. I’ve sworn off complicated bakes ever since making these after trying out a mind-blowing apple and pecan danish pastry tart for a family brunch (who had the time?!). Since then, I basically live on easy treats like this and my other stand-by, these madeline cookies with cream. Let’s dive in. You deserve this cool snack.
Why You’ll Love Individual No-Bake Cheesecake Jars
Look, I get it. Sometimes “easy” recipes are really just code for “tastes a bit like cardboard”. Not these. When I say these cheesecake jars are a game changer, I mean it. The only heat involved is from your hands when you’re licking the spoon.
These are my go-to for picnics or honestly, sheer laziness. People always act like you made a five-star restaurant dessert. I’m not kidding. They’re basically foolproof, easy to customize (hello, whatever fruit is shriveling up in your fridge), and portioned out so no one argues about the biggest slice. That’s a win at my house.
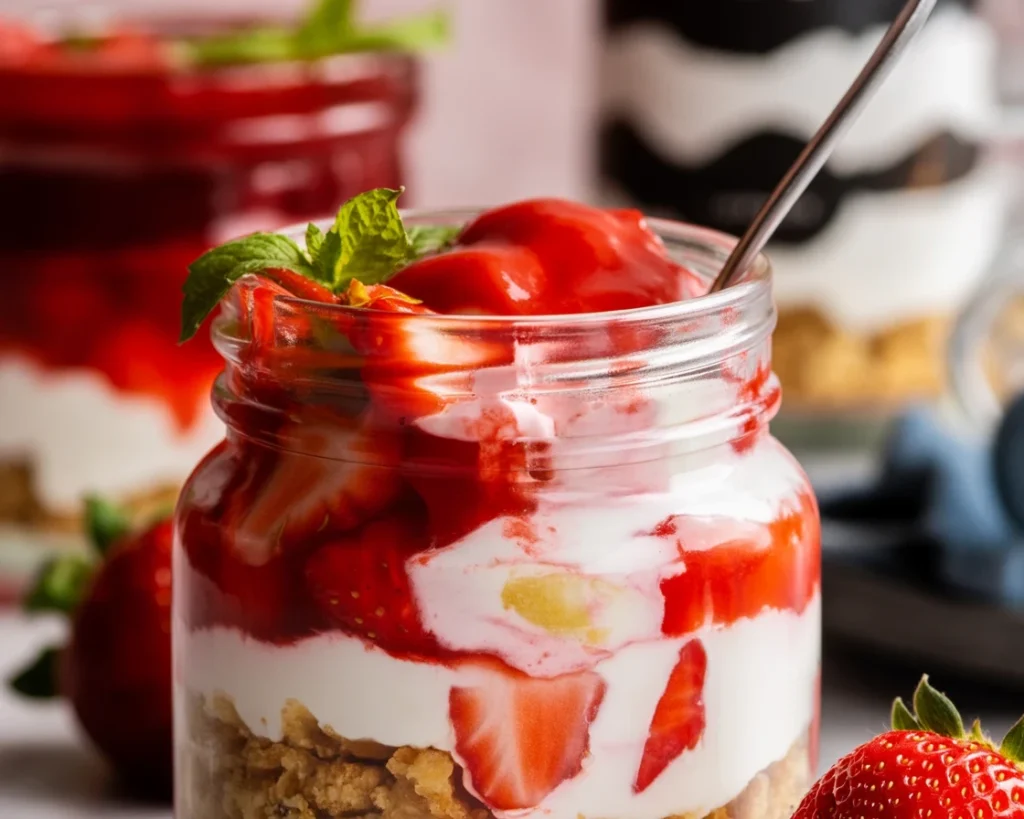
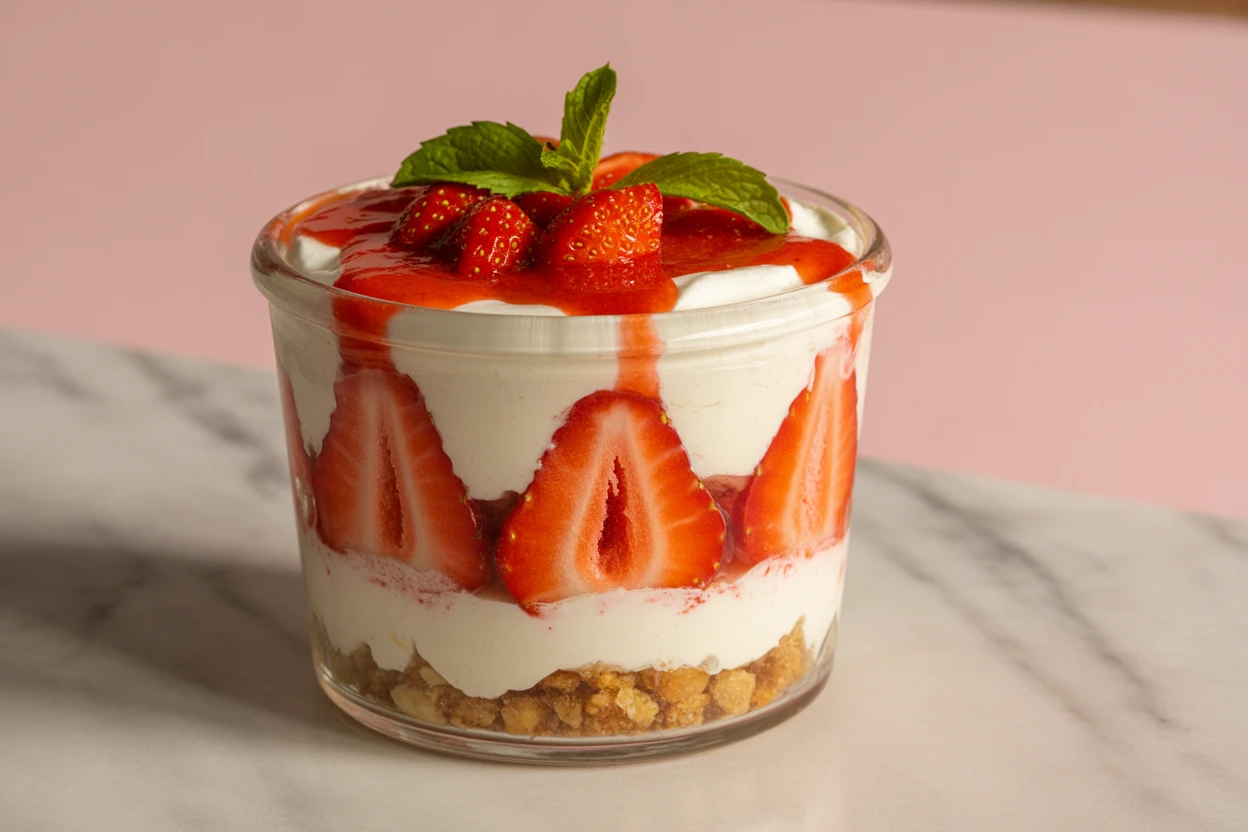
Oddly enough, the best part is how they look. Layered up in little jars, they snag you compliments every single time. Long story short: creamy, crunchy, sweet, cold, adorable—what more do you want?

Ingredient Overview:
Don’t worry, you won’t need to hunt down anything weird or expensive for these no bake dessert jars. The most “complicated” thing here is cream cheese (which is a staple at my place). You’ll also want:
- Graham crackers (or any crunchy cookie, really)
- Butter
- Sugar (but not heaps)
- Cream cheese
- Whipped cream or Greek yogurt (depends if you want it extra creamy or tangy)
- Toppings: fruit, lemon zest, jam, chocolate, you get the vibe
I’ve played with all sorts. Sometimes I use leftover madeleines or even a crumbled up cookie from last night’s failed attempt at apple and pecan danish pastry tart. Use what you love. Easy.
How to Make this Cheesecake Jars Recipe Step-by-Step
Okay, real talk: if you can use a spoon, you can make these no-bake cheesecake jars. It goes like this. First, crush up your graham crackers (smash ’em up in a plastic bag—therapeutic, not gonna lie). Pour in a little melted butter and, I don’t know, smash it around with a fork.
Next, dump your room-temp cream cheese in a bowl. Add sugar. Beat until it’s smooth and less sad looking. Fold in whipped cream or yogurt. Taste it. Is it sweet enough? Cool. Layer that cheesecake business on your crumbly base in the jar. Spoon on toppings. Cram jars in the fridge and try not to eat them all before dinner.
Pro tip: Kids love making these. Or, if you’re brave, let your friends do their own. Some might get carried away (looking at you, Aunt Cathy), but that’s part of the fun.
“Made these for my book club and everyone swore I was secretly a pastry chef! SO easy and honestly, I felt like a dessert wizard. Will never bake in July again. Highly recommend.” — Emily R.
Filling Flavors
You don’t have to stick to plain. Vanilla is classic, but you can go wild. Lemon zest wakes it up, a swirl of jam adds zing, or (my current favorite) mash in a spoonful of Nutella. Sometimes I make an almost red velvet cheesecake fusion by stirring cocoa powder and a splash of red food coloring. Fancy? Sort of. Effort? Not really.
Fruit is always in. Strawberries, blueberries, even a sad peach that’s about to turn—slice it up and layer it in. You get color, flavor, and, quite frankly, a much higher chance of impressing that picky neighbor.
Expert Success Tips
You want these to taste like something from a fancy café? Pay attention here.
- Use full-fat cream cheese. The light stuff just doesn’t set as rich.
- Let the jars chill for at least 2 hours, longer if you can. Overnight makes ‘em dreamier.
- Use see-through jars. Not mandatory, but you want to see those layers, trust me.
- If you crave even more dessert ideas for summer, check the desserts category or try these quick and easy ground beef recipes when you want something savory after all that sweet.
Serving Suggestions
- Top with crushed cookies, sprinkles, or even granola for crunch.
- Go tropical and pile on mango chunks and toasted coconut.
- Love chocolate? Throw on chocolate chips or a squiggle of fudge sauce.
- Having a party? Set up a “build your own” dessert jar bar and let friends go wild.
Common Questions
Can I make these no-bake cheesecake jars ahead of time?
Absolutely. In fact, they taste even better after a night in the fridge. Let them hang out and get nice and cold.
Are there any shortcuts if I’m super short on time?
Oh, yes. Buy pre-whipped topping. Or grab a ready-made jam for the fruit layer.
Is it possible to make these jars healthier?
Totally doable. Swap Greek yogurt for some of the cream cheese, and use less sugar. I do this all the time and nobody complains.
What size jars work best?
Honestly, whatever you have. Mason jars, recycled jelly jars, even little drinking glasses. I’ve used plastic cups for outdoor parties (less fancy, but effective).
Got a vegan version?
Yup. Use a plant-based cream cheese and whipped coconut cream. Tastes like a tropical vacation in a jar. I’ve fooled a few people, if I’m being honest.
Go Make Your Summer a Little Cooler
So, there you have it: my no-nonsense, keep-your-kitchen-chill guide to no bake dessert jars. Trust me, once you try these, you’ll never look back—especially on those sticky, hot days. Want more ideas or step-by-step photos? There’s a killer tutorial on No-Bake Cheesecake Jars – Sally’s Baking Addiction if you want a backup opinion. And hey, if you like little kitchen adventures, check out these yummy madeline cookies with cream or maybe level up to a truly decadent red velvet cheesecake fusion. I’m telling you, dessert never needs to be complicated—or sweaty—again. Enjoy!
Print
Individual No-Bake Cheesecake Jars
- Total Time: 120 minutes
- Yield: 4 servings
- Diet: Vegetarian
Description
Cool, creamy, and ridiculously easy no-bake cheesecake jars perfect for summer desserts.
Ingredients
- Graham crackers (or any crunchy cookie)
- Butter
- Sugar
- Cream cheese
- Whipped cream or Greek yogurt
- Toppings: fruit, lemon zest, jam, chocolate
Instructions
- Crush graham crackers in a plastic bag and mix with melted butter.
- In a bowl, beat cream cheese with sugar until smooth.
- Fold in whipped cream or yogurt and mix well.
- Layer the cheesecake mixture on top of the graham cracker base in jars.
- Add your choice of toppings.
- Chill in the fridge for at least 2 hours before serving.
Notes
Use full-fat cream cheese for best results. Let jars chill overnight for even better taste.
- Prep Time: 15 minutes
- Cook Time: 0 minutes
- Category: Dessert
- Method: No-Bake
- Cuisine: American
Nutrition
- Serving Size: 1 jar
- Calories: 280
- Sugar: 12g
- Sodium: 200mg
- Fat: 18g
- Saturated Fat: 10g
- Unsaturated Fat: 4g
- Trans Fat: 0g
- Carbohydrates: 30g
- Fiber: 1g
- Protein: 5g
- Cholesterol: 30mg
Keywords: no-bake, cheesecake, dessert, summer, easy